-
-
Verify collet closer kit contents
-
Remove rear safety cover. Clean O.D. of spindle and I.D. of rear spindle adapter. Closely examine O.D. and face at the rear of the spindle for any damage. Now examine the adapter for similar damage, even the smallest nicks will create problems.
-
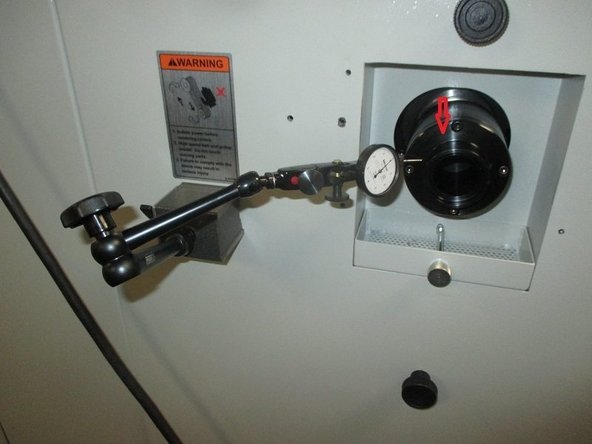
Indicate the OD of the back of the spindle and mark the point of highest runout with a felt tip pen.
-
-
-
Very carefully install the rear spindle adapter onto the end of the spindle, the two set screws opposite to the high point, it is a very close fit so BE PATIENT, DO NOT ATTEMPT TO FORCE IT ON. Once the adapter is successfully installed, carefully tighten the two (2) set screws to a torque value of 60 in lbs.
-
In the event that the adapter becomes jammed on the spindle, use the SWI Collet Closer Adapter Removal Tool, located in the Machine Assembly Tool Crib.
-
-
-
For 1630HS and 1845 go to step #5
-
For 1440 and 1630 continue with these steps.
-
Install locking ring and snug the screws do not over tighten
-
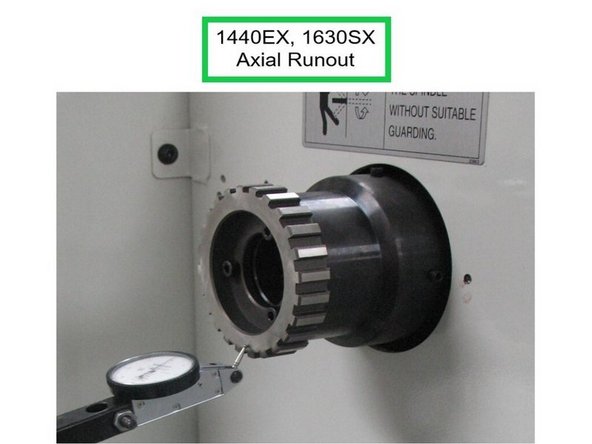
Set a 0.0001” indicator on the face of the locating ring and rotate the spindle by hand to check for axial runout. If runout is greater than 0.0007”, find the lowest indicated reading and mark it with a felt tip pen. Add a shim of a thickness that will get you closest to .0000”.
-
More than one shim may be required at different locations to achieve this. The three (3) SHCS must be tight when checking the face for axial runout.
-
-
-
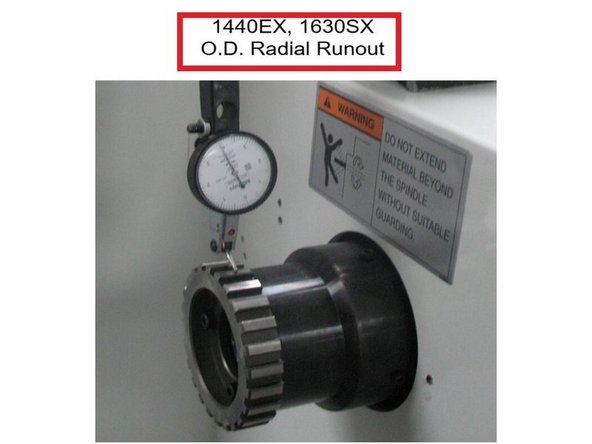
1440 and 1630SX Only - Set the indicator on the O.D. of the locating ring and rotate the front of the spindle by hand to check for radial runout.
-
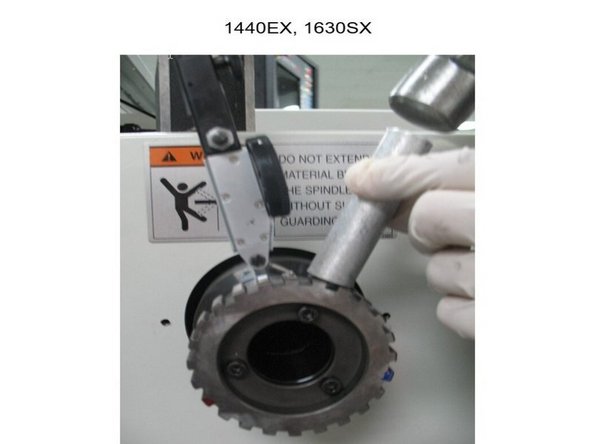
Adjust as required to obtain runout of 0.0007” or less. Use a hammer and an ALUMINUM block to tap the point of highest runout to centralize the locating ring. The less the runout, the better the results. Tighten the screws to 60 in-lb and re-indicate for BOTH axial and radial runout; verify that nothing has moved.
-
-
-
For 1440 and 1630SX go to step #7
-
For 1630HS and 1845 continue with these steps.
-
Set a 0.0001” indicator on the face of the locating ring and rotate the spindle by hand to check for axial runout. If runout is greater than 0.0007”, find the lowest indicated reading and mark it with a felt tip pen. Add a shim of a thickness that will get you closest to .0000”.
-
More than one shim may be required at different locations to achieve this. The three (3) SHCS must be tight when checking the face for axial runout.
-
-
-
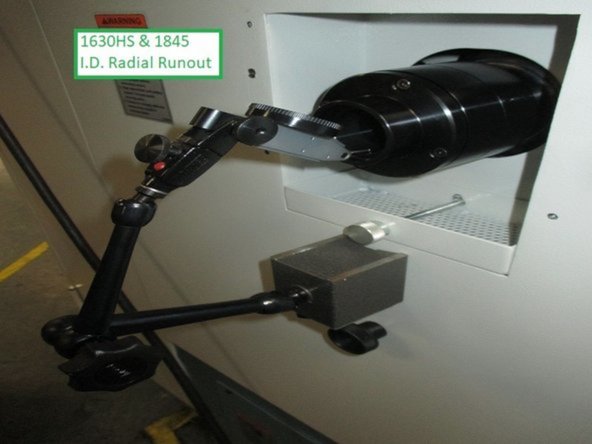
1630HS & 1845 Only - Set the indicator on the I.D. of the locating ring and rotate the front of the spindle by hand to check for radial runout.
-
Adjust as required to obtain runout of 0.0007” or less. Use a hammer and an ALUMINUM block to tap the point of highest runout to centralize the locating ring. The less the runout, the better the results. Tighten the screws to 60 in-lb and re-indicate for BOTH axial and radial runout; verify that nothing has moved.
-
-
-
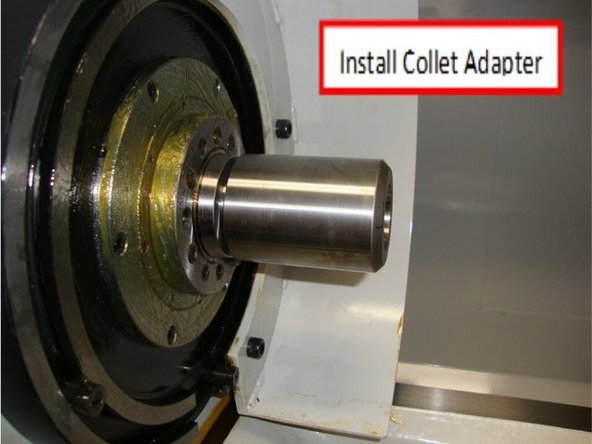
Clean spindle bore I.D. and 5C Collet adapter O.D. Install the collet adapter by pushing it into the spindle bore as shown. Verify that a “taper lock” has been established by attempting to remove the collet adapter by hand.
-
The collet adapter should only be removed by passing a brass or aluminum bar through the rear of the spindle and lightly tapping out the adapter.
-
Place an indicator on ground surface inside the bore to check for excessive runout. If required remove collet adapter and reseat at a different rotational location.
-
-
-
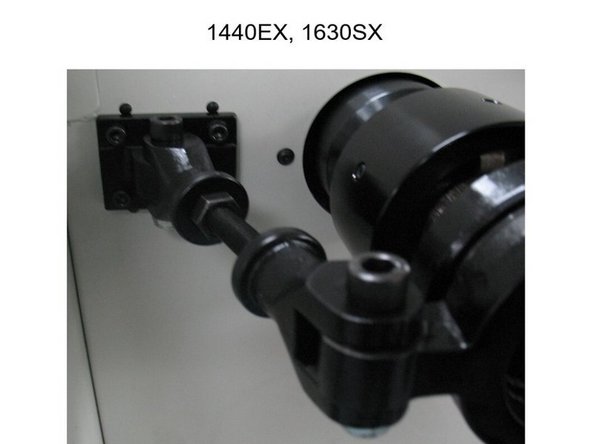
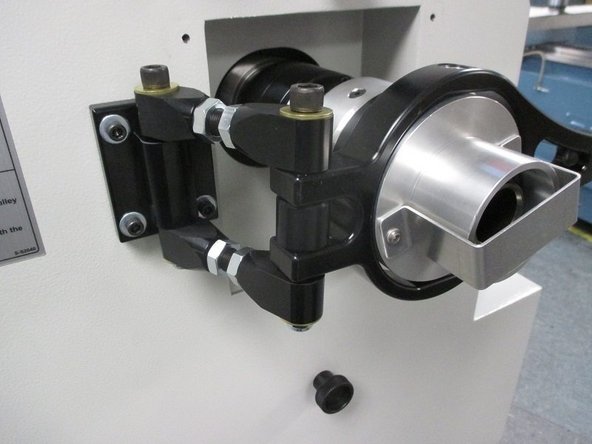
Install the collet linkage assembly to the sheet metal but do not tighten the screws. All hardware should be loose at this stage.
-
1440 and 1630SX: Slowly insert the collet draw tube assembly into the locating ring and stop when the draw tube makes contact with the 5C collet adapter. Rushing this step may cause the 5C collet adapter to become dislodged from the spindle and fall into the machine.
-
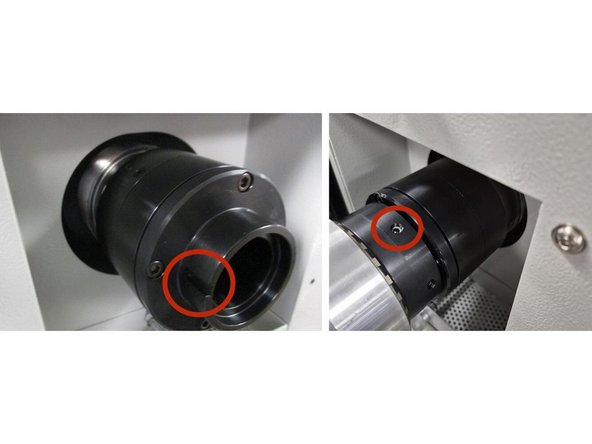
1630HS and 1845: Slowly insert the collet draw tube assembly into the locating ring, align the silver set screw in the draw tube assy with the Keyway in the adapter, Continue moving the draw tube in until it makes contact with the 5C collet adapter.
-
Rushing this step may cause the 5C collet adapter to become dislodged from the spindle and fall into the machine.
-
-
-
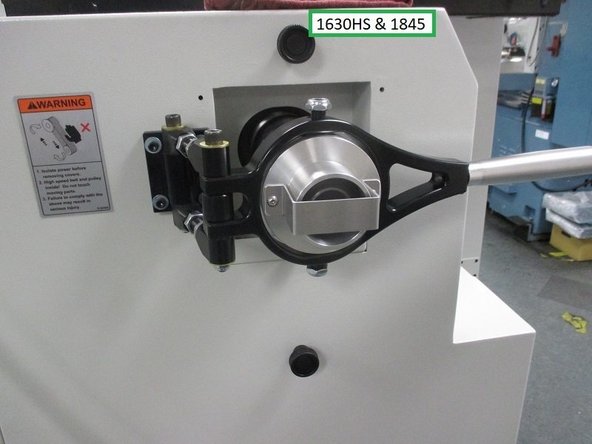
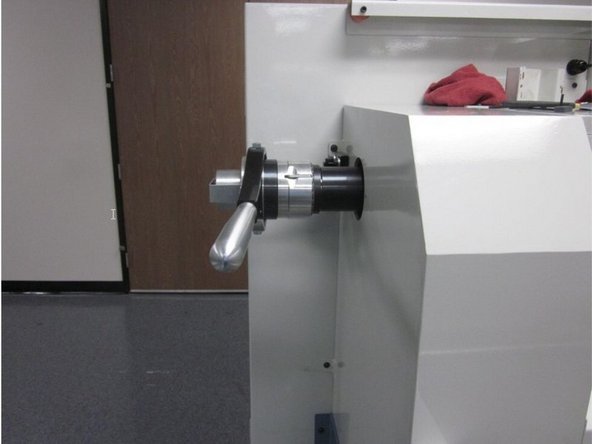
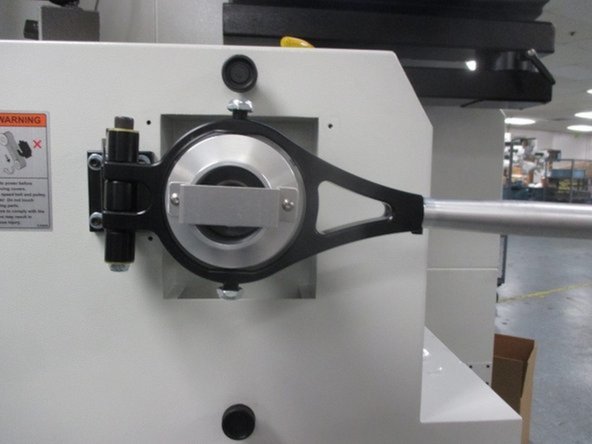
Connect the linkage to the Collet closer, along with the handle assembly, but do not tighten the bolts. Leave slightly loose.
-
For the 1440 and 1630 screw the set screws thru the handle and into the clamping ring. Do not tighten
-
For the 1630HS and 1845 insert blocks into clamping rings and thread the set screws thru the handle and into blocks. Do not tighten
-
-
-
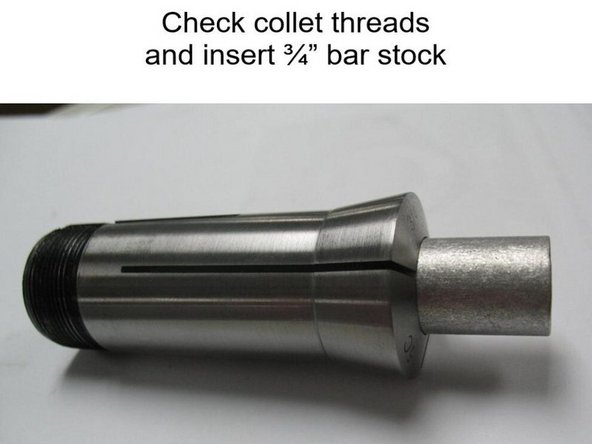
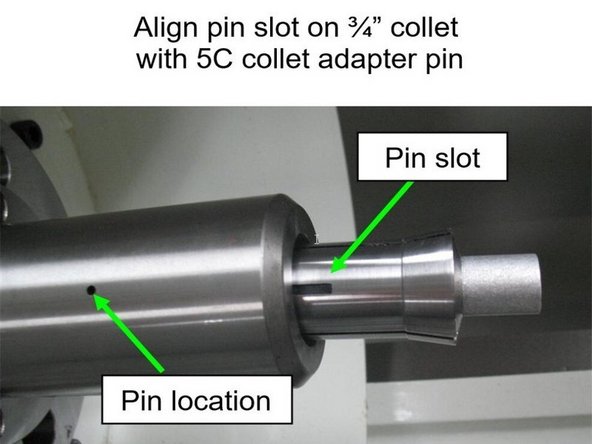
Check the ¾” collet threads for damage and insert a short piece of ¾” bar stock into the collet. Prior to fully inserting the collet into the 5C collet adapter, align the pin slot on the ¾” collet with the pin location on the 5C collet adapter.
-
-
-
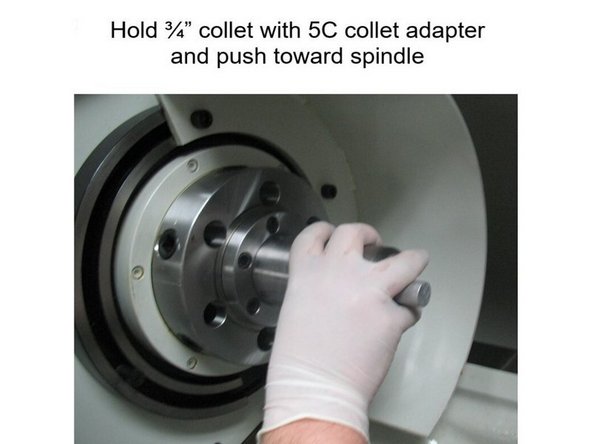
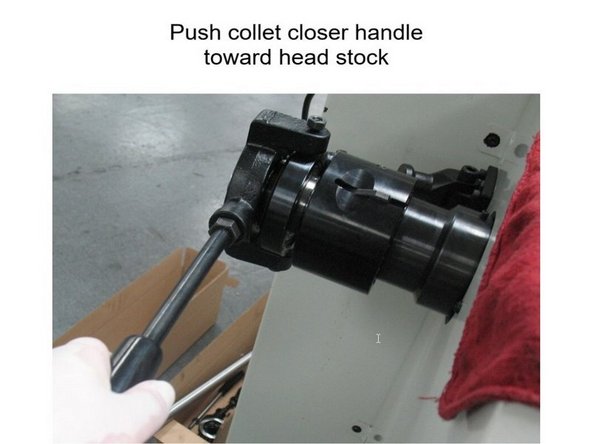
Fully insert the ¾” collet into the 5C collet adapter and gently push toward the spindle. Next, push the collet closer handle toward the head stock, creating contact between the ¾” collet and the draw tube.
-
While holding the ¾” collet and collet adapter, rotate the clamping unit clockwise to thread the ¾” collet into the draw tube. After one rotation, verify thread engagement by pushing the collet closer handle away from the head stock; the ¾” collet should be pulled into the 5C collet adapter. If thread engagement has not occurred, repeat step 9.
-
Continue rotating the clamping unit until tight, making sure to count the total number of rotations. Disengage the collet closer by pushing the handle toward the head stock. Rotate the clamping unit an additional quarter turn. Engage the collet closer by pushing the handle away from the head stock.
-
Observe the amount of force needed to lock the ¾” bar stock into place; the tactile feedback should be prominent and audible.
-
If adjustment is needed to loosen or tighten the tension (clamping force) on the ¾” bar stock, disengage the collet closer and rotate the clamping unit either counter-clockwise or clockwise, respectively. Re-engage the collet closer and verify whether the desired tension (clamping force) has been achieved.
-
Snap the clamping unit locking finger into the closest notch of the locating ring; be sure the locking finger toggles freely and snaps into place.
-
Unthread the ¾” collet to verify the amount of thread engagement. Disengage the collet closer, lightly pull on the ¾” collet, and rotate the clamping unit counter-clockwise while counting the number of rotations needed to release the ¾” collet.
-
WARNING! Proper thread engagement must be between five (5) and eight (8) rotations. Collet closers that perform outside of this tolerance must be replaced.
-
-
-
Re-thread the ¾” collet into the draw tube by repeating steps 9 and 10.
-
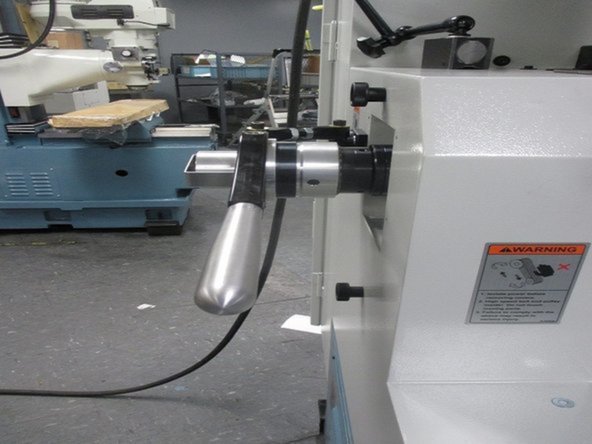
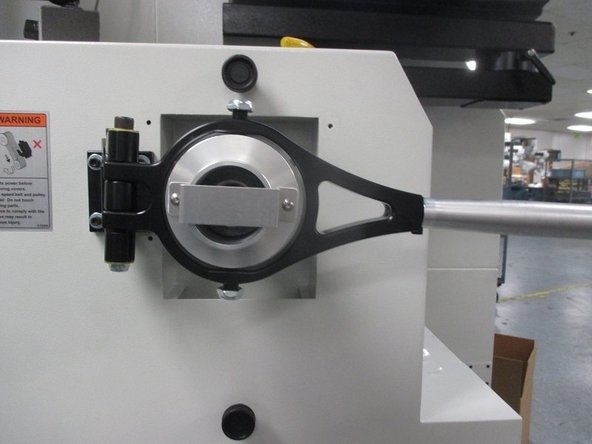
Adjust the linkage so the handle, when in the clamped position, is slightly past parallel with the rear sheet metal. Do not tighten any of the linkage at this time.
-
Verify when clamped there is no interference with the sheet metal and the operator has clearance to prevent hitting his hand.
-
-
-
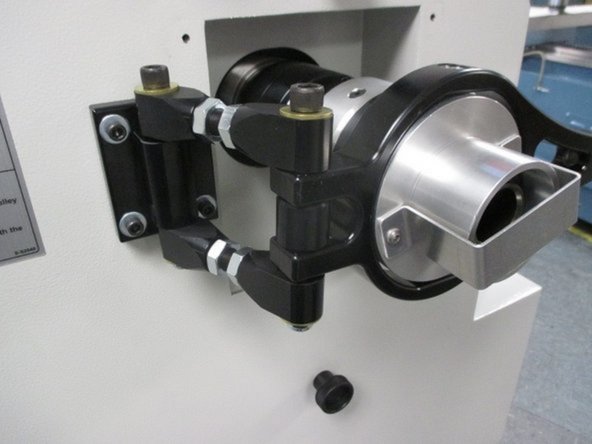
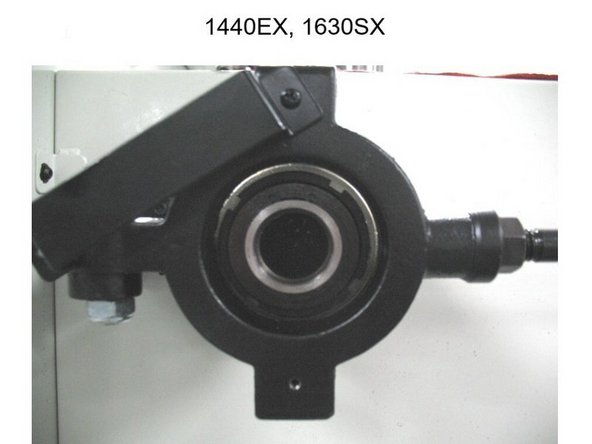
Disengage the collet closer and position the handle parallel to the head stock. Looking from the rear of the spindle, adjust the pivot screws such that the bearing body is concentric with the arbor. Do not over tighten the pivot screws.
-
-
-
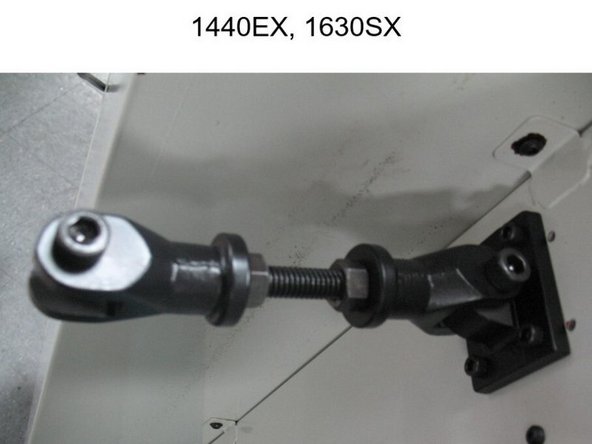
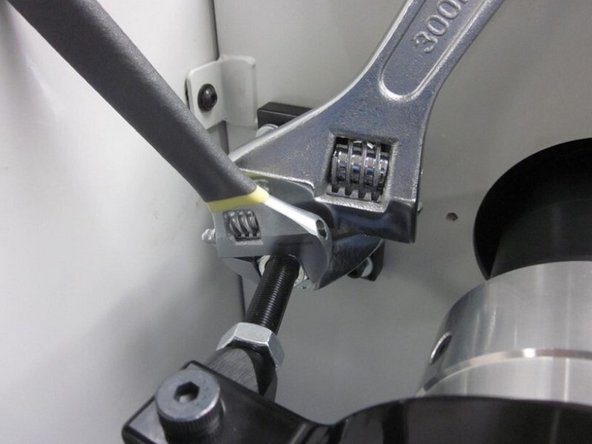
Engage the collet closer. Starting from the linkage connected to the handle, working towards the head stock, begin tightening all the screws and nuts a little at a time. Be sure to hold the clevis with a wrench when tightening the nuts on the threaded rod to prevent any twisting and binding.
-
-
-
Tighten the SHCS on each clevis such that when a hex key wrench is inserted, the screw can rotate but does not have any upward or downward play.
-
Set the spindle speed to 250 rpm and turn it on in the forward direction. Observe the handle for wobble, listen for any rattling, and watch for vibration throughout the entire lathe. Gradually increase the spindle speed up to 2500 rpm, in approximately 100 rpm increments, paying particular attention to speeds around 800, 1600, and 2400 rpm.
-
When 2500 rpm is reached, turn off the spindle and restart it for the purpose of surfacing any objectionable vibration. Repeat this entire step by running the spindle in reverse direction.
-
To surface undesirable vibrations, place your hand throughout various locations on the lathe, such as the sheet metal behind the spindle, the safety doors, the pendant, and the way surfaces. Applying light pressure to the handle may also surface loose hardware.
-
Minor adjustments can be made to reduce unwanted vibration. Loosen and re-tighten the linkage assembly hardware, from bearing body to the fixed seat, while the spindle is running at the problematic speed.
-
The two clevis units may also be rotated 180-degrees to change the mating surfaces, along with varying the tightness of the SHCS. Also, verify the leveling bolts are not sitting loose atop the leveling pads.
-
If the adjustments have reduced unwanted wobble, noise, and / or vibration, repeat steps vibration tests above to verify that no other issues have been introduced at other spindle speeds. If you are unable to achieve an acceptable vibration level through adjustment, reject the collet closer for further examination.
-
Lastly, verify the safety guard is installed behind the bearing body
-
Almost done!
Finish Line


