
-
-
Inspect each gib to ensure it is flat, untwisted, burr-free, and free of oil passage blockages.
-
Replace any gibs that are scarred or damaged.
-
Never shim gibs—this does not produce acceptable results.
-
Do not clean gibs or ways with shop air, as it may blow chips into the sliding surfaces.
-
Gib wear occurs naturally over time due to carriage and bed friction.
-
After adjusting, jog the axis multiple times to help settle the gib.
-
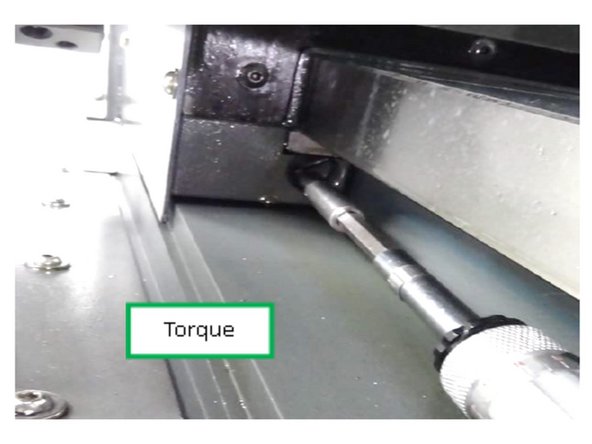
Use a torque screwdriver when adjusting gib screws.
-
Torque spec for all gib adjustments: 1.2 Nm (11 in-lbs).
-
-
-
Loosen both setting nuts on the gib adjustment screw.
-
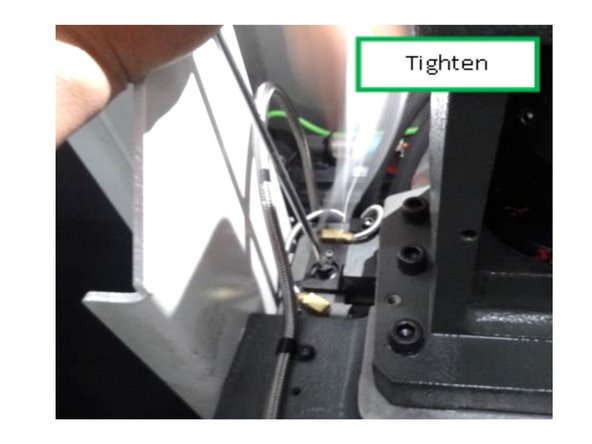
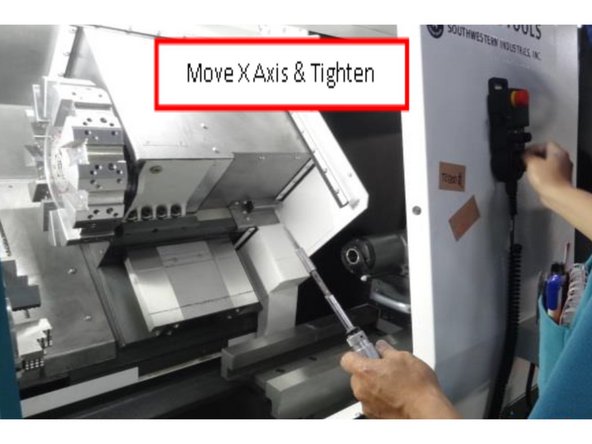
Use a flathead torque screwdriver to tighten the adjustment screw to 1.2 Nm (11 in-lbs).
-
Move the X-axis back and forth several times to settle the gib.
-
Retighten the adjustment screw to 1.2 Nm (11 in-lbs) after movement.
-
Repeat the process at least two times to eliminate any remaining gap.
-
Confirm the gib is seated by checking for smooth, consistent axis motion.
-
Do not overtighten—excessive preload can cause binding or premature wear.
-
Only proceed once motion is smooth and free of play.
-
-
-
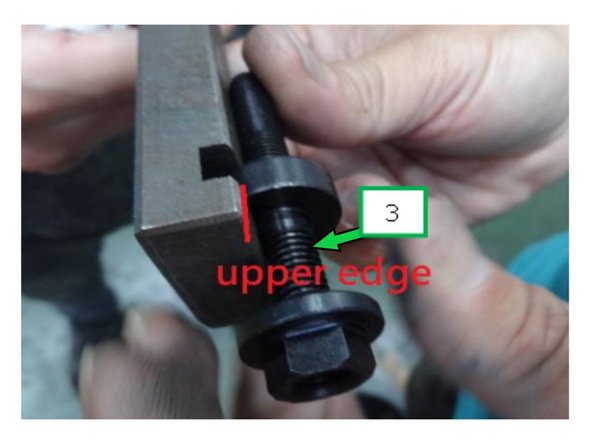
Slowly turn the adjustment screw counterclockwise until it just contacts the gib’s upper edge.
-
Hold the screw in place with a flathead screwdriver to prevent rotation.
-
Tighten setting nut (2) while holding the screw steady.
-
Then tighten setting nut (1) to lock everything in place.
-
Verify the gib is snug by jogging the axis and feeling for resistance or looseness.
-
Repeat the process if motion feels uneven or loose.
-
Ensure both setting nuts are secure and properly torqued.
-
Do not overtighten—this may distort the gib.
-
-
-
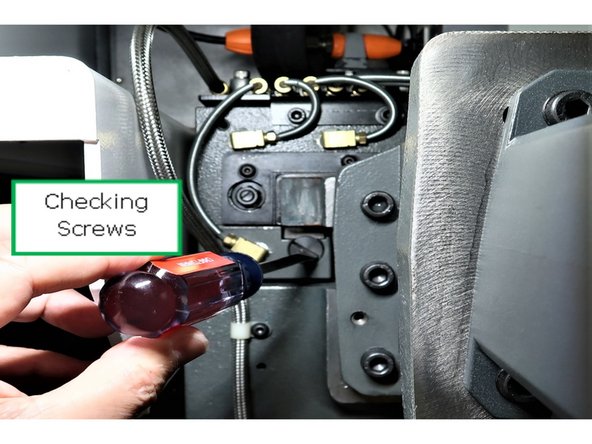
Loosen both gib setting screws (1) by turning them 2–3 full turns counterclockwise.
-
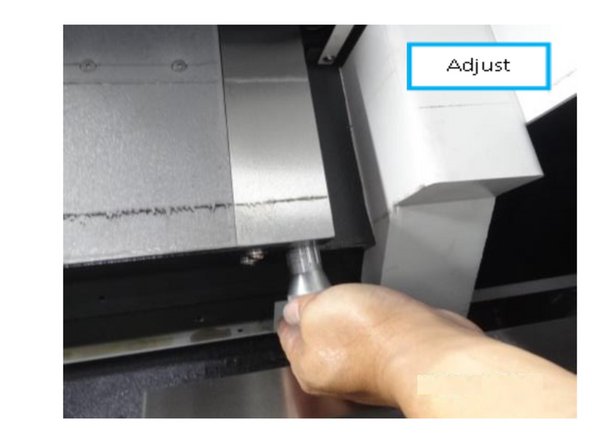
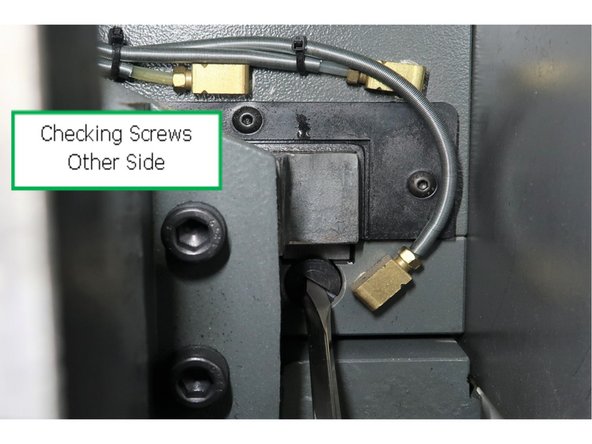
Locate the gib adjustment screws on the opposite side of the carriage.
-
Using a flathead torque screwdriver, tighten the adjustment screws to 1.2 Nm (11 in-lbs).
-
Jog the X-axis back and forth several times to help settle the gib.
-
Retighten the adjustment screws to 1.2 Nm (11 in-lbs) after movement.
-
Repeat the adjustment and jogging cycle at least twice.
-
Confirm the gib is seated properly by checking for smooth motion.
-
Do not adjust both sides at once—always adjust one side while the other is loose.
-
-
-
Move the X-axis several times, then retighten the adjustment screws to 1.2 Nm (11 in-lbs).
-
Repeat the movement and retightening cycle at least twice to remove any remaining gap.
-
Check that the gib setting screws are still loose—this is normal before final tightening.
-
Lightly tighten the setting screws on both sides—do not overtighten.
-
Overtightening can distort the gib and cause binding or uneven wear.
-
Jog the axis to confirm smooth, consistent travel without stick or play.
-
Recheck all fasteners for proper torque.
-
Only finish the process when motion feels correct and secure.
-


Cancel: I did not complete this guide.
One other person completed this guide.