
-
-
Remove four (4) screws label as (A, B, C, D).
-
Disconnect three (3) cables as shown.
-
-
-
Gently slide the computer module out of enclosure.
-
Remove six (6) screws label as (1, 2, 3, 4, 5, and 6) in computer as shown.
-
-
-
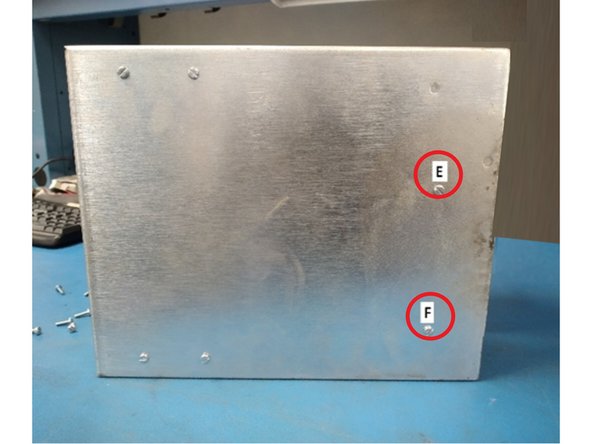
Remove two (2) screws label as E, F.
-
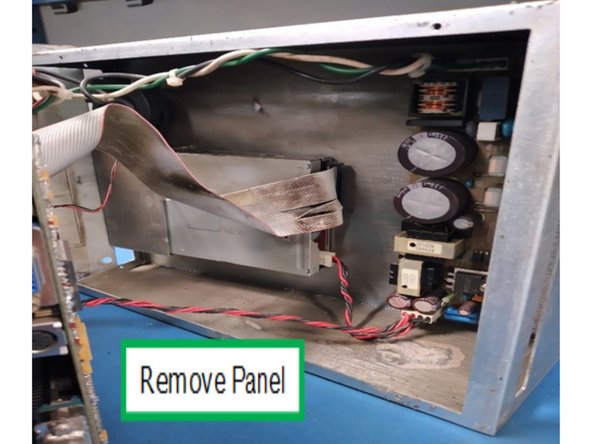
Gently open the back panel so that able to disconnect the floppy and power cables as shown.
-
-
-
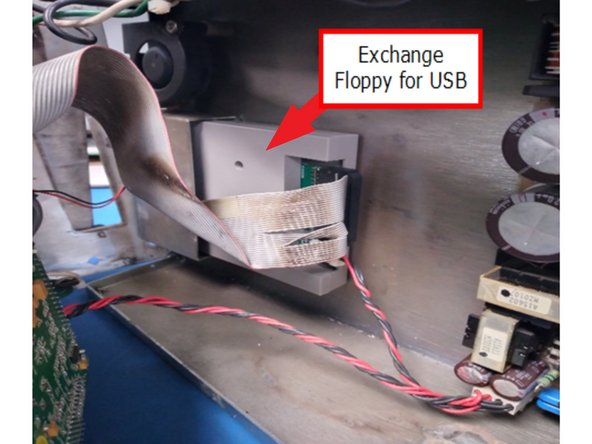
Remove the floppy drive, and then install the USB Emulator Drive with two (2) provided screws.
-
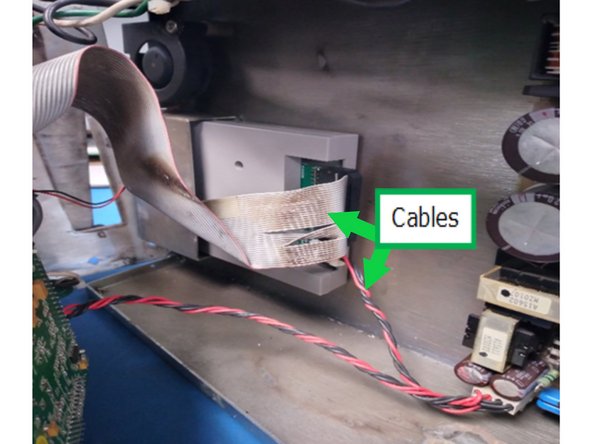
Connect floppy and power cables as shown.
-
Reinstall:
-
Back panel with two screws
-
Six screws holding the computer module and three cables
-
Slide computer module into enclosure
-
Attach computer to enclosure with 4 screws
-


Cancel: I did not complete this guide.
One other person completed this guide.