Introduction
1. Determine if the issue is constant (continuous) or intermittent (happens once in a while randomly).
2. Start with the simplest causes and work toward more complex causes.
3. Ensure that the Pendant is truly the cause before replacing.
NOTE1: Step 1 and 2 are for issues with all Axes; Step 3 and beyond are for issues with one Axis only.
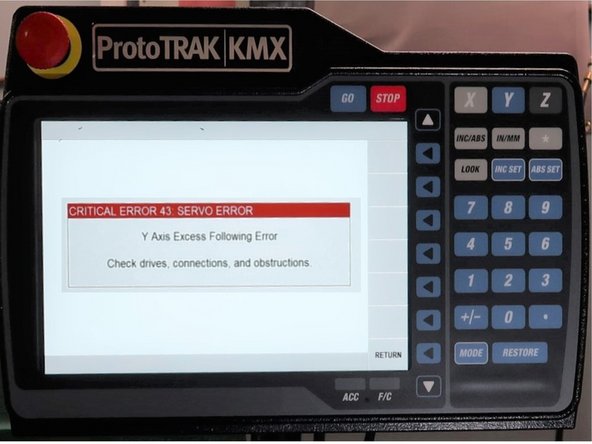
NOTE2: Useful for error faults 42/43/44.
-
-
Verify status of LED's on the Pendant
-
Assumes pendant is powered up so main fuse is good and E-Stop is not pressed. Check all power LEDs (24VDC, thru 3.3VDC), they should be ON. If not possible cause is the respective power supply is bad.
-
Check WDT-FAULT LED, should be blinking slowly. If not, possible causes are: Master software crashed or is not running. Check K100-OUT and K101-OUT LEDs, they should be ON. If not, the system is not turning relays on as expected.
-
Check K100-FB and K101-FB LEDs, they should be ON. If not, possible cause bad respective relay. Check K100-FAULT and K101-FAULT LEDs,, they should be OFF. If not possible causes could be: • ESTOP pressed • Respective relay not working.
-
If all LED's check out ok, move to next step.
-
If any of the LED's do not check out, replace Pendant.
-
-
-
Turn off and unplug the system from the wall. Do not plug and unplug connectors with the system power on. This may cause damage to the connector board, and harm to the technician.
-
Visually inspect all connections for excessive debris, moisture, or obvious damage.
-
Carefully clean any chips away from the connectors. Take out each connector one-by-one, check all the pins on the connector to make sure they are ok (not damaged or corroded), and then plug them back in. Make sure to tighten up the screws on each of the connectors.
-
Whenever you replace or reroute a cable, it is very important to keep the power and logic cables separated from each other. Mixing the power and logic cables may cause noise from the power cables to interrupt the signals in the logic cables. This can lead to intermittent axis faults or repeatability problems.
-
After Checking the connections of the cables, reboot and recheck to see if problem still exists. If the problem is solved, exit troubleshooting. If the problem is not solved, the Pendant may need to be replaced.
-
-
-
Rarely do both the X and Y motor/servo systems fail at the same time and in the same way. So, if the problem occurs on both axes, its source is probably somewhere else. If only one axis does not respond to the JOG command, pinpoint the source of the issue by swapping the Axes and observing.
-
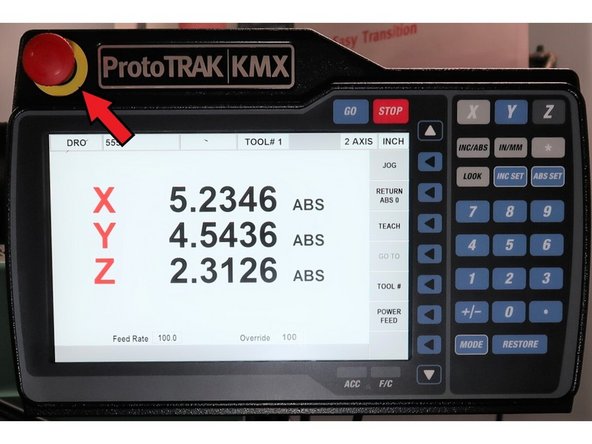
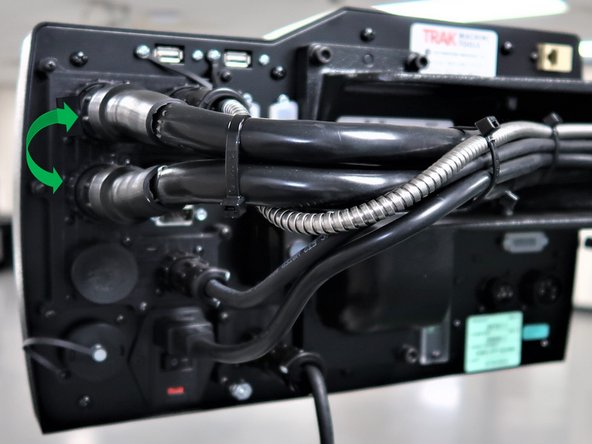
Hit E-Stop and unplug both motor cables.
-
For example, if the Axis Will Not Jog issue occurs on the X Axis, physically switch the X and Y motor cables to pinpoint the source of the issue. Reboot and check to see if problem still exists.
-
If the Axis Will Not Jog issue moves to the Y Axis (same motor) as a result of the motor cables being switched, then the issue itself may be caused by a bad motor, and the motor needs to be isolated and checked.
-
-
-
Hit E-Stop.
-
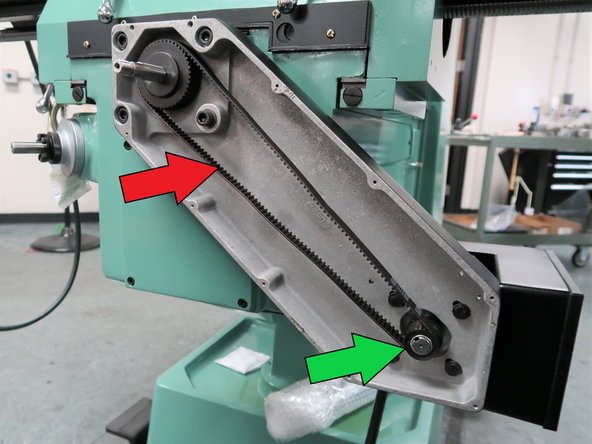
Isolate the motor by removing its belt and recheck to verify if axis is locked-up or motor is bad.
-
If the motor now turns and the Axis Will Not Jog issue no longer exists, the mechanical axis itself may be locked up.
-
If the motor still does not turn, replace motor. If problem follows axis, go to next step.
-
Isolate and address the cause of the mechanical lock up issue, then reattach the motor belt and cables to their proper axes.
-
-
-
Before calling into SWI for assistance, please note the following: Can you duplicate the customer issue? Is the issue constant or intermittent?
-
Note any/all Alarms/Error codes found and verify what steps you have taken so far to troubleshoot including:
-
Verified LED's, cables, axis swap, etc.
-
Verified voltage and signals from Pendant.
-
5V DC
-
120 VAC
-
PWM
-
Encoder signal (quadrature) Service code 131 to check encoder(s)
-


